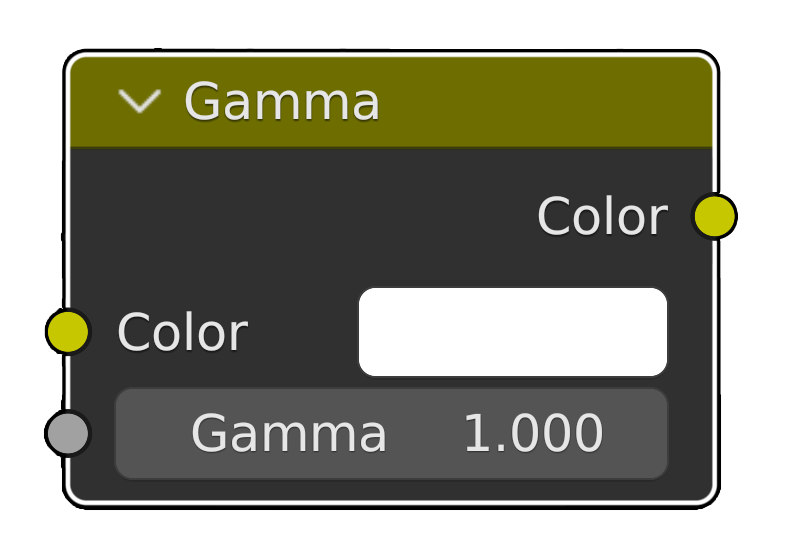
Blender Gamma Node

This isn’t intended as a doctrine, just some food for thought For a while now, I have been using the gamma node in Blender as an alternative to the color ramp and the map range node. There are a few reasons why I like the node: It is light weight. It is a simple one slider does all node. The node inputs are easily exposed in a Group. I can use one Image texture easily to drive more than one input - see below. It isn’t a replacement for the other nodes, but for tweaking the levels it is great. I often use an RGB image texture and set the Color Space to Linear and then use a Gamma Node set to 2.4 to get a more realistic RGB output, 2.2 is the default but I think 2.4 is more colour accurate, or at least I read that somewhere. In any case it often looks better. Doing this allows for easy connection to Linear inputs for Roughness etc. ...
23 November 2023 · Mark

Skipped September

We are now in the early stages of October, thank-fully, and I realised I hadn’t posted at all in the previous month. I put this down to the weather, the depressing news cycle, and the general distraction of work. Recently I started posting pictures on Unsplash, as a way of giving back to the site, which I have used for textures a few times over the year, and here is one I posted recently: ...

5 October 2023 · Mark

Feeling Sheepish

The month is nearly at an end and I am not feeling like this month has been very productive. The reason is probably the weather and the amount of people visiting this area in August. The weather has also been pretty horrid. Extreme humidity has left everything feeling muggy and damp. We have had so much rain in the last couple of months, I am expecting next years crop to be rice not wheat. ...

26 August 2023 · Mark
Blender Edge Wear Node

Blender Edge Wear Node

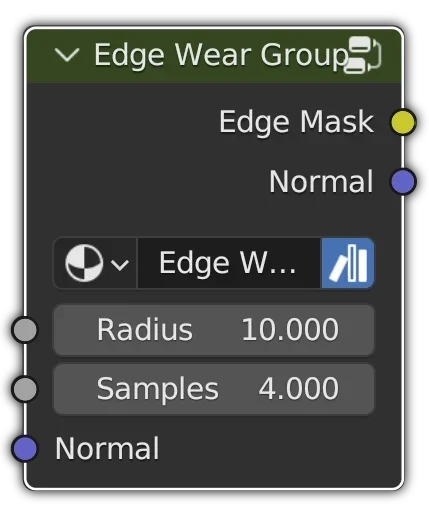
This is a demonstration of how to create a Node Graph in Blender to make and Edge Wear node for use in Cycles. Step one: Create the node graph as shown above in Blender’s shader editor. Note the samples input this will be added next. Step two: Add a Samples input slot, so you can drive the Bevel node samples from outside the group. ...

31 July 2023 · Mark

Blending Machine Parts

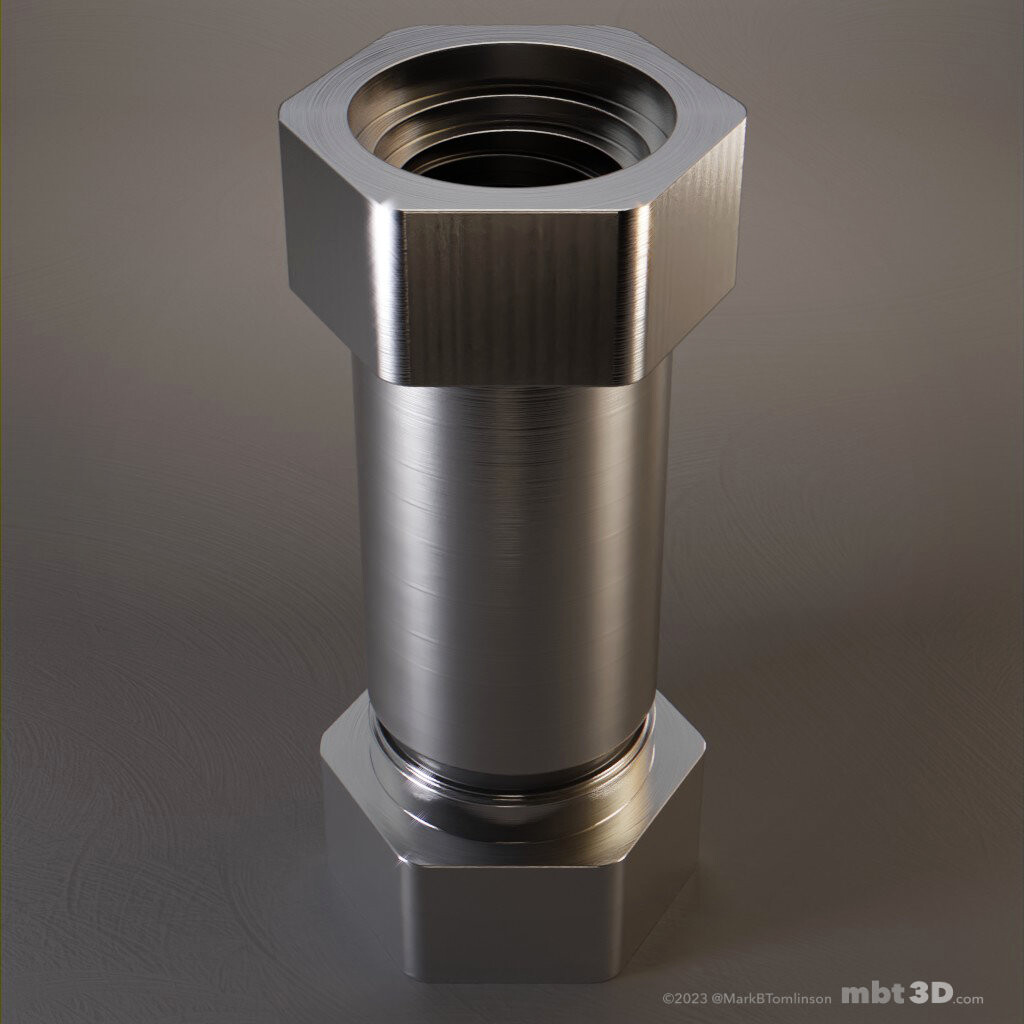
I have recently been watching a YouTube channel from a Japanese machine tool maker, which I find interesting and relaxing. It is also a great source of reference material for 3D modelling. For ideas and materials, I have been making screenshots like crazy as I watch through his demonstrations. If you are interested in checking the channel out it is here: @SwapLampJapan I hadn’t thought of using YouTube as a source of reference but as the quality of the video cameras improve I am able to get some really nice shots for reference. ...

17 July 2023 · Mark

Cut and paste in Finder

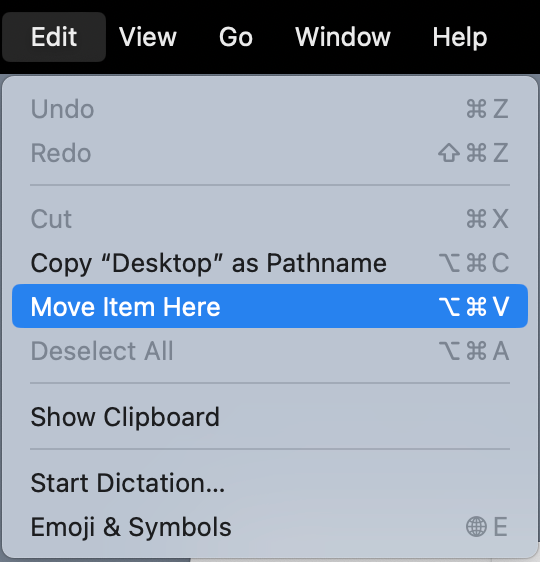
Mac doesn’t support Cut and Paste from Finder using: CMD-X CMD-V But you can achieve exactly the same results by using: CMD-C and then CMD-OPT-V This isn’t very intuitive as most OS’s use Ctrl-X and Ctrl-V, but the functionality is there if a little hidden. For a bonus tip: if you hold press ALT/OPTION over the open Menu Bar you will see alternative functions appear. There is at least one plugin on the App Store, that turns this into CMD-X, but to be honest, I don’t think CMD-OPTION-V too hard a combination to master.

18 June 2023 · Mark

Summer Rumblings

We are now well into June, half way in fact, and I realised I haven’t posted on the blog in a while. The reasons are the usual ones, a lack of interest and anything interesting to say. To that end this post is somewhat of an oxymoron, it is all of the above and thus posted purely for the sake of maintaining the blogs output. If I leave it too long, I will fall into a state of low inertia, and so will my posting. ...

16 June 2023 · Mark

Asset Surface Snapping Blender

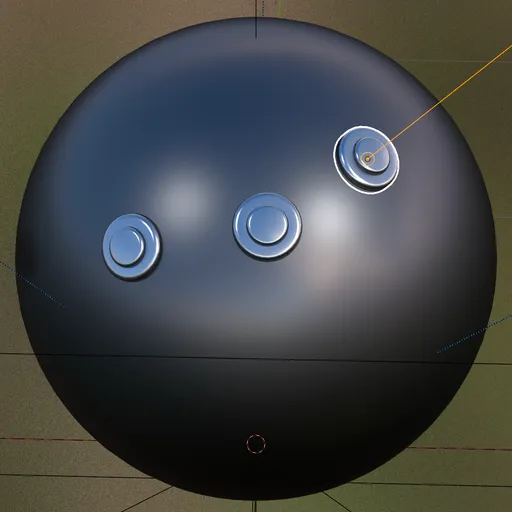
When adding mesh assets, for use as a cutter for example, it is important to align the asset to the underlying geometry’s surface normals. This can be achieved by using the following setting in the snap options menu in the tool bar at the top of the Blender UI. This will snap the assets origin, as the center, to the surface of the target mesh, when using the CTRL key or by toggling the snapping option Magnet icon in the menu. ...

8 May 2023 · Mark

Moi3d Shortcuts

A Alt+A = ArrayDir Ctrl+A = script:moi.geometryDatabase.selectAll(); Shift+A = script:moi.view.resetAll(); Shift+Alt+A = ArrayCurve Ctrl+Shift+A = ArrayCircular B B = Fillet Alt+B = sBridge C C = Rebuild Ctrl+C = CopyClipboard Ctrl+Alt+C = ODCopyToExternal Alt+C = script: moi.view.setCPlaneInteractive(); Ctrl+Shift+C = CopyClipboardWithOrigin Shift+Alt+C = script: /* Align CPlane with 3D view 1.0 */ var cp = moi.view.getCPlane(), tp = moi.ui.mainWindow.viewpanel.getViewport('3D').targetFrame, tl = moi.VectorMath.pointsWithinTolerance; if (tl(cp.origin,tp.origin) && tl(cp.zaxis,tp.zaxis)) { moi.view.resetCPlane() } else {moi.view.setCPlane(tp, false)} ...

28 April 2023 · Mark

Blender Curve Manipulation Problem

If you find you are unable to move a curve handle in all three axis, it is probably due to the curve type being set to 2D. When you create the curve expand the Simple Curve dialog in the lower left of the viewport, or press F9: From here choose 3D and then, if you want curved splines, choose Auto in the Output Curve Type. The defaults are 2D and Vector and they may not be what you want for your curves. ...

11 April 2023 · Mark