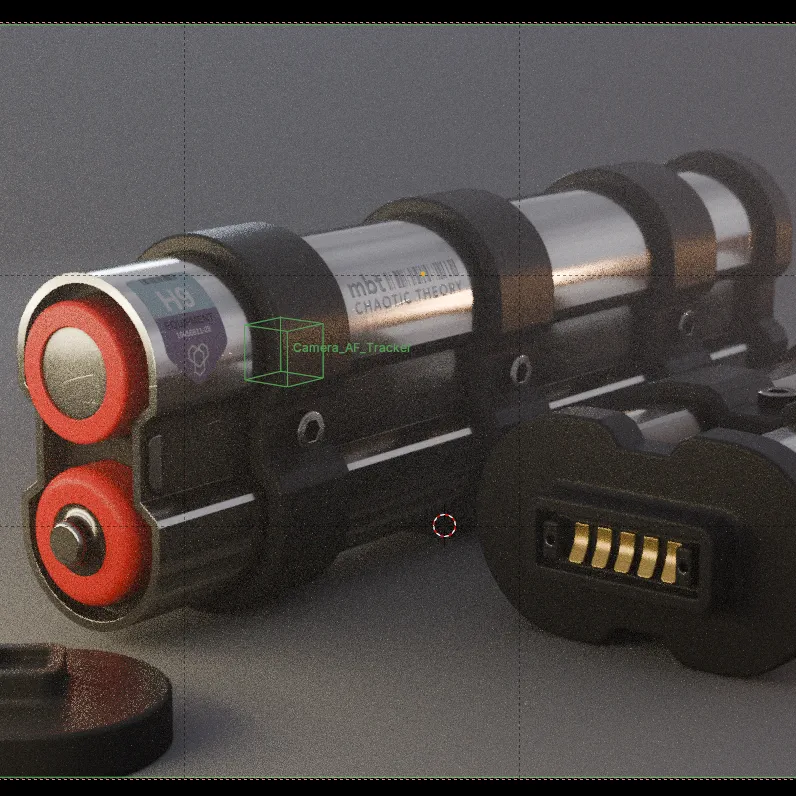
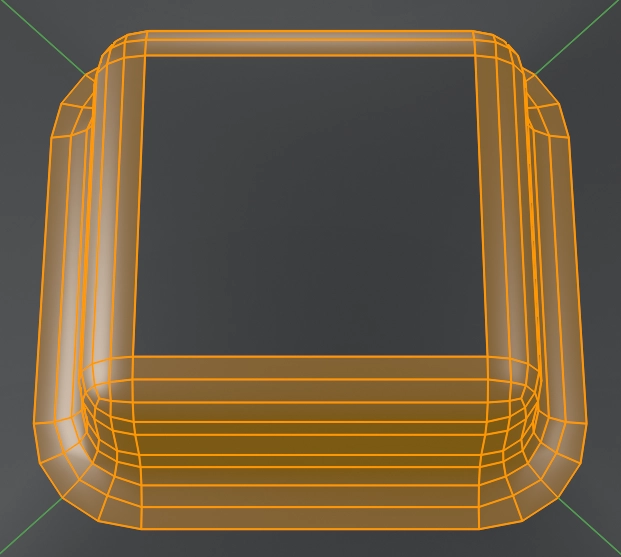
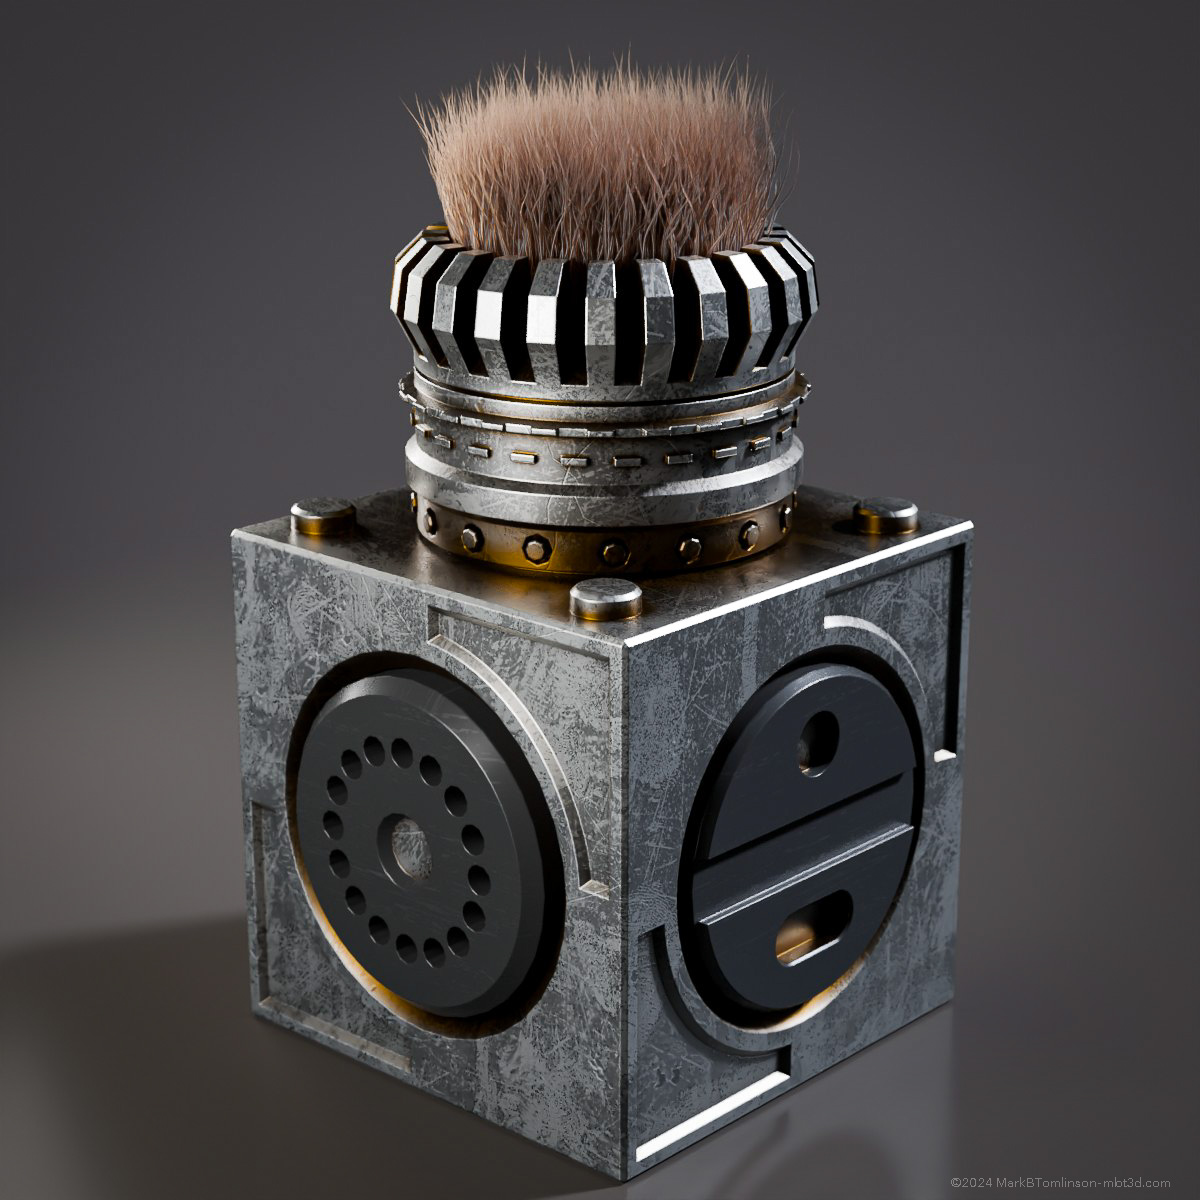
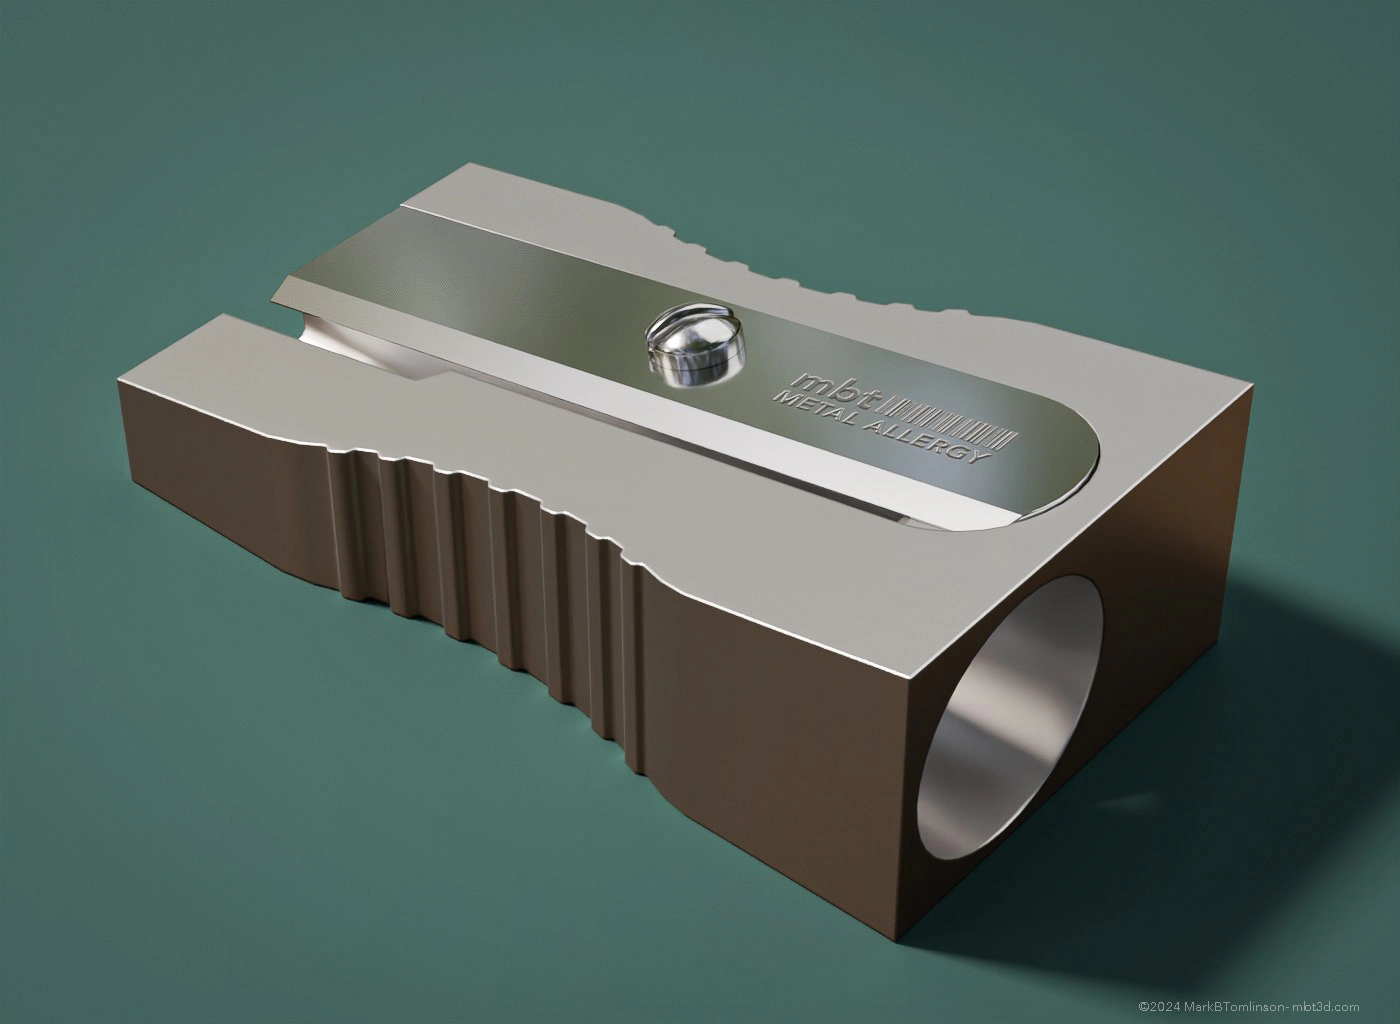
Art Posts from Mastodon
Some Moi3d and Blender models, in no particular order: ...
Overview and Prerequisites This demonstration requires only one Add-On to be installed, it is one that ships with Blender by default, and it is called Loop Tools. 1. Create the Loop Cuts Add some loop cuts to create two vertices with at least four connected edges. In this example one vertical edge and two horizontal ones. 2. Select the Vertices Select two vertices top and bottom in this example. ...
Twenty Five days into the new year and I realised, I hadn’t posted on here yet. To remedy that, here is a short update post: Last year I was working on an Addon for Blender, more details when it is finished. Suffice to say I had the addon working and I’ve been using it for a while. I wanted to add some additional features and tidy up the UI and then perhaps release it. ...
This isn’t intended as a doctrine, just some food for thought For a while now, I have been using the gamma node in Blender as an alternative to the color ramp and the map range node. There are a few reasons why I like the node: It is light weight. It is a simple one slider does all node. The node inputs are easily exposed in a Group. I can use one Image texture easily to drive more than one input - see below. It isn’t a replacement for the other nodes, but for tweaking the levels it is great. I often use an RGB image texture and set the Color Space to Linear and then use a Gamma Node set to 2.4 to get a more realistic RGB output, 2.2 is the default but I think 2.4 is more colour accurate, or at least I read that somewhere. In any case it often looks better. Doing this allows for easy connection to Linear inputs for Roughness etc. ...
This is a demonstration of how to create a Node Graph in Blender to make and Edge Wear node for use in Cycles. Step one: Create the node graph as shown above in Blender’s shader editor. Note the samples input this will be added next. Step two: Add a Samples input slot, so you can drive the Bevel node samples from outside the group. ...
I have recently been watching a YouTube channel from a Japanese machine tool maker, which I find interesting and relaxing. It is also a great source of reference material for 3D modelling. For ideas and materials, I have been making screenshots like crazy as I watch through his demonstrations. If you are interested in checking the channel out it is here: @SwapLampJapan I hadn’t thought of using YouTube as a source of reference but as the quality of the video cameras improve I am able to get some really nice shots for reference. ...
When adding mesh assets, for use as a cutter for example, it is important to align the asset to the underlying geometry’s surface normals. This can be achieved by using the following setting in the snap options menu in the tool bar at the top of the Blender UI. This will snap the assets origin, as the center, to the surface of the target mesh, when using the CTRL key or by toggling the snapping option Magnet icon in the menu. ...
If you find you are unable to move a curve handle in all three axis, it is probably due to the curve type being set to 2D. When you create the curve expand the Simple Curve dialog in the lower left of the viewport, or press F9: From here choose 3D and then, if you want curved splines, choose Auto in the Output Curve Type. The defaults are 2D and Vector and they may not be what you want for your curves. ...
In recent years, there have been huge improvements in n-gon’s (non quad polygons). Specifically how well they render and games engines handle non triangular or quad polygons – in reality of course, all polygons are reduced to triangles for rendering. Three vertices being the lowest amount of points that are needed to create two dimensional forms. It seems now that the last place that require quad sub-D models is in deformed meshes, character animations and the like. I rarely aim for pure quad sub-D models anymore but still like to practice making them and find them cathartic to create now and then. ...
Blender Class naming conventions - Python API As of Blender 2.8 the API naming requirement is for the class name to match the following convention: UPPER_CASE_{TYPE}_mixed_case Where {TYPE} is two letters denoting the class type inherited: HT – Header MT – Menu OT – Operator PT – Panel UL – UI list The class identifier “bl_idname” mast match the class name. Valid class name and identifier examples: class ADDONNAME_OT_my_operator(bpy.types.Operator): bl_idname = 'ADDONNAME_OT_my_operator' ... class ADDONNAME_MT_my_menu(bpy.types.Menu): bl_idname = 'ADDONNAME_MT_my_menu' ... class ADDONNAME_HT_my_header(bpy.types.Header): bl_idname = 'ADDONNAME_HT_my_header' ... class ADDONNAME_PT_my_panel(bpy.types.Panel): bl_idname = 'ADDONNAME_PT_my_panel' ... If class name or identifier doesn’t meet the conventions, Blender will raise an Error warning but still run: ...