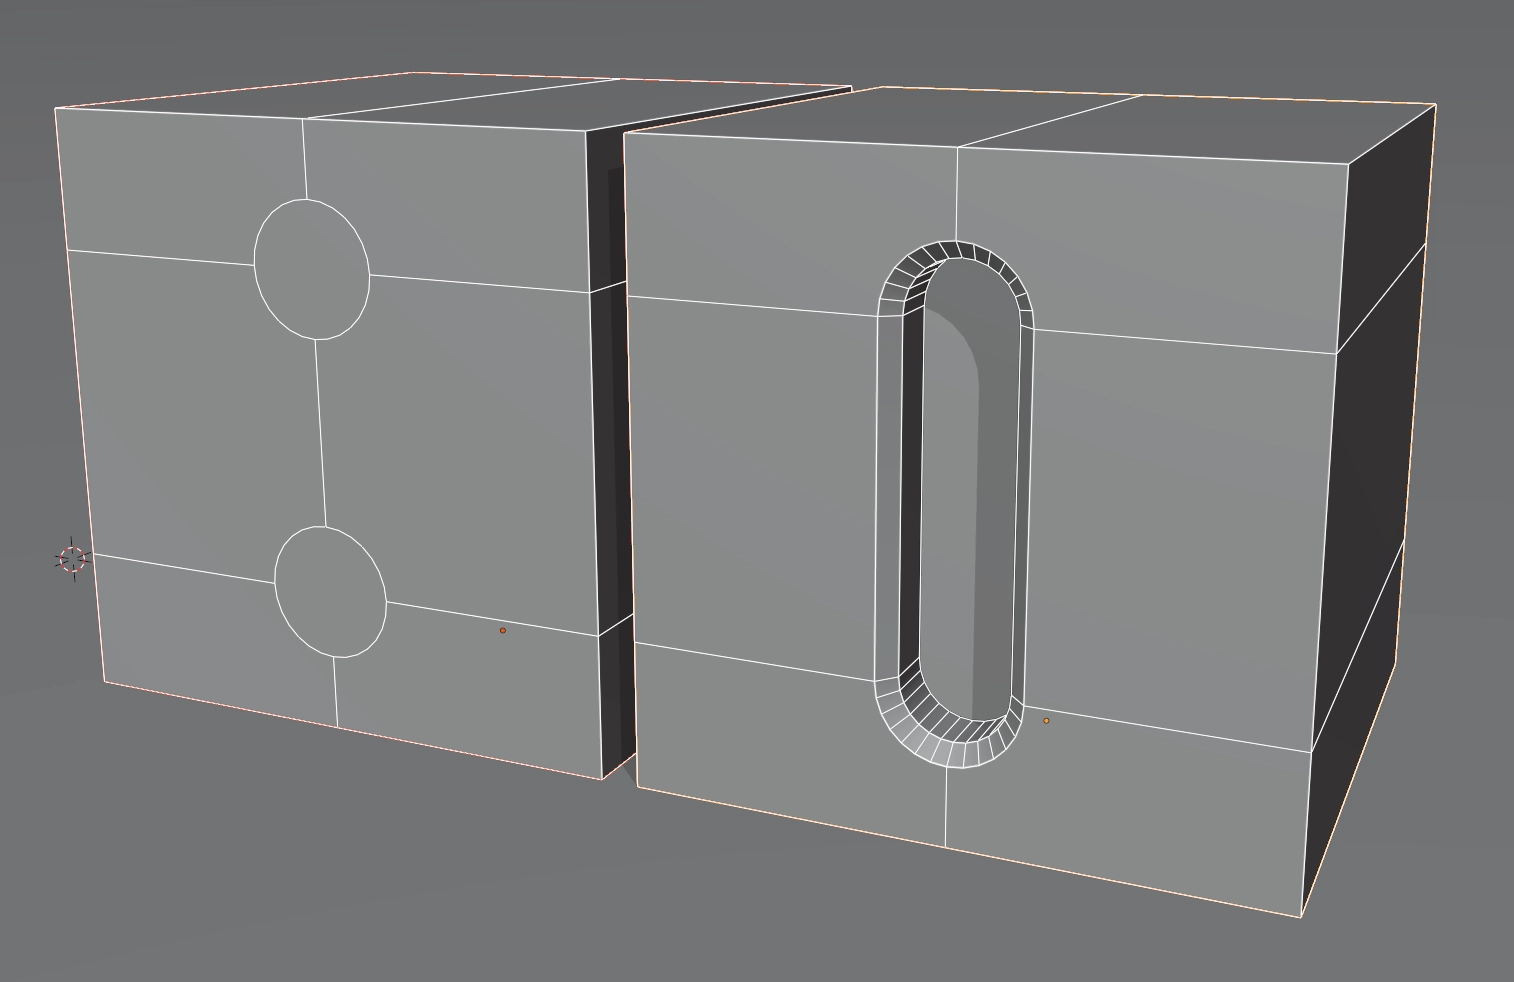
Overview and Prerequisites
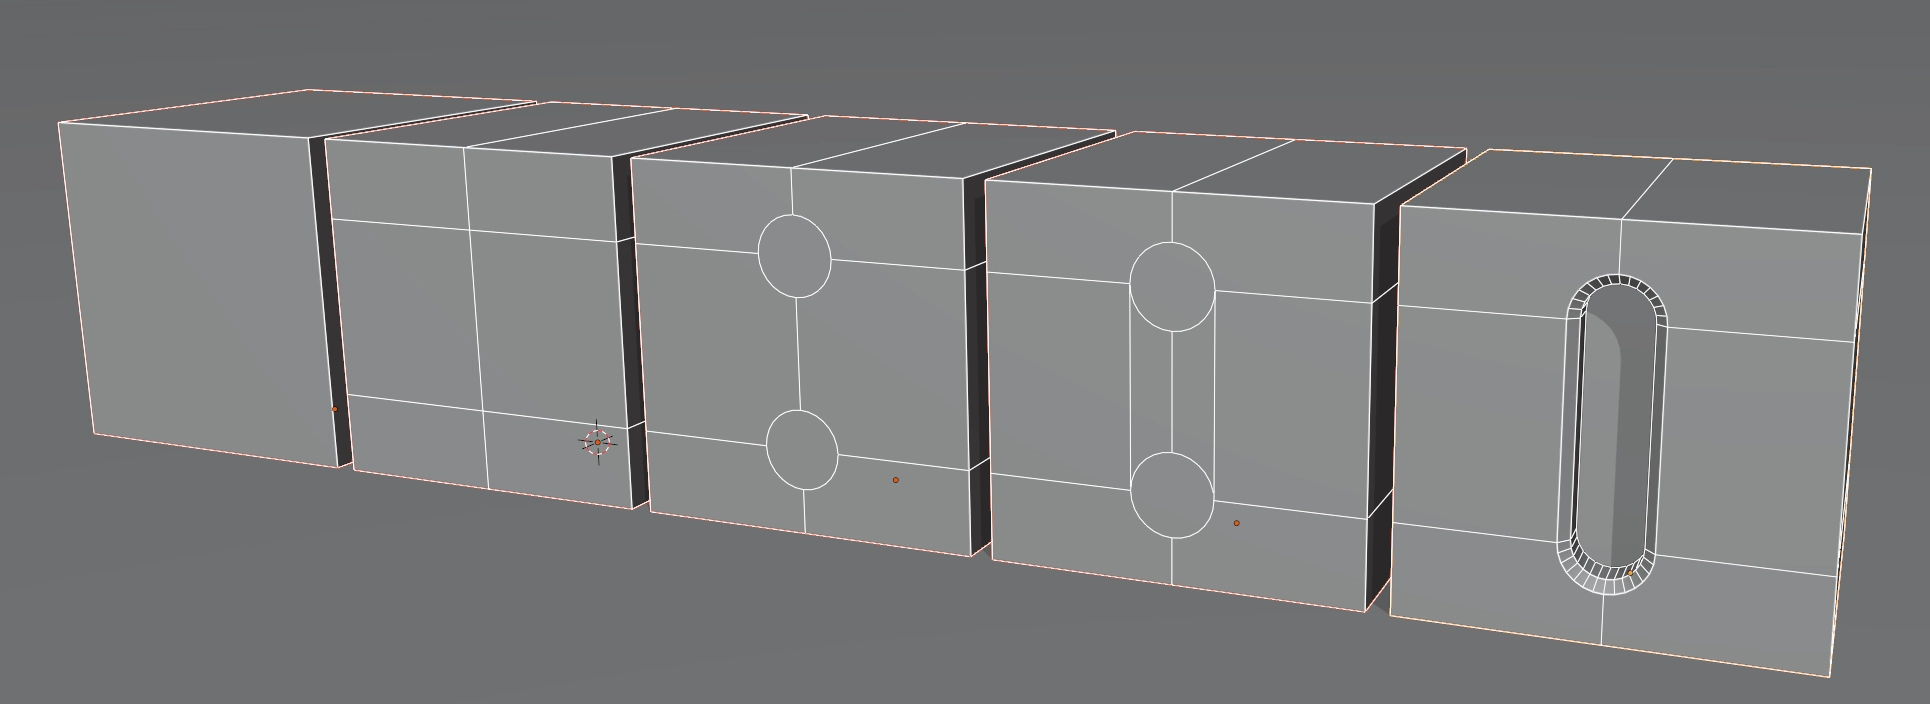 This demonstration requires only one Add-On to be installed, it is one that ships with Blender by default, and it is called Loop Tools.
1. Create the Loop Cuts
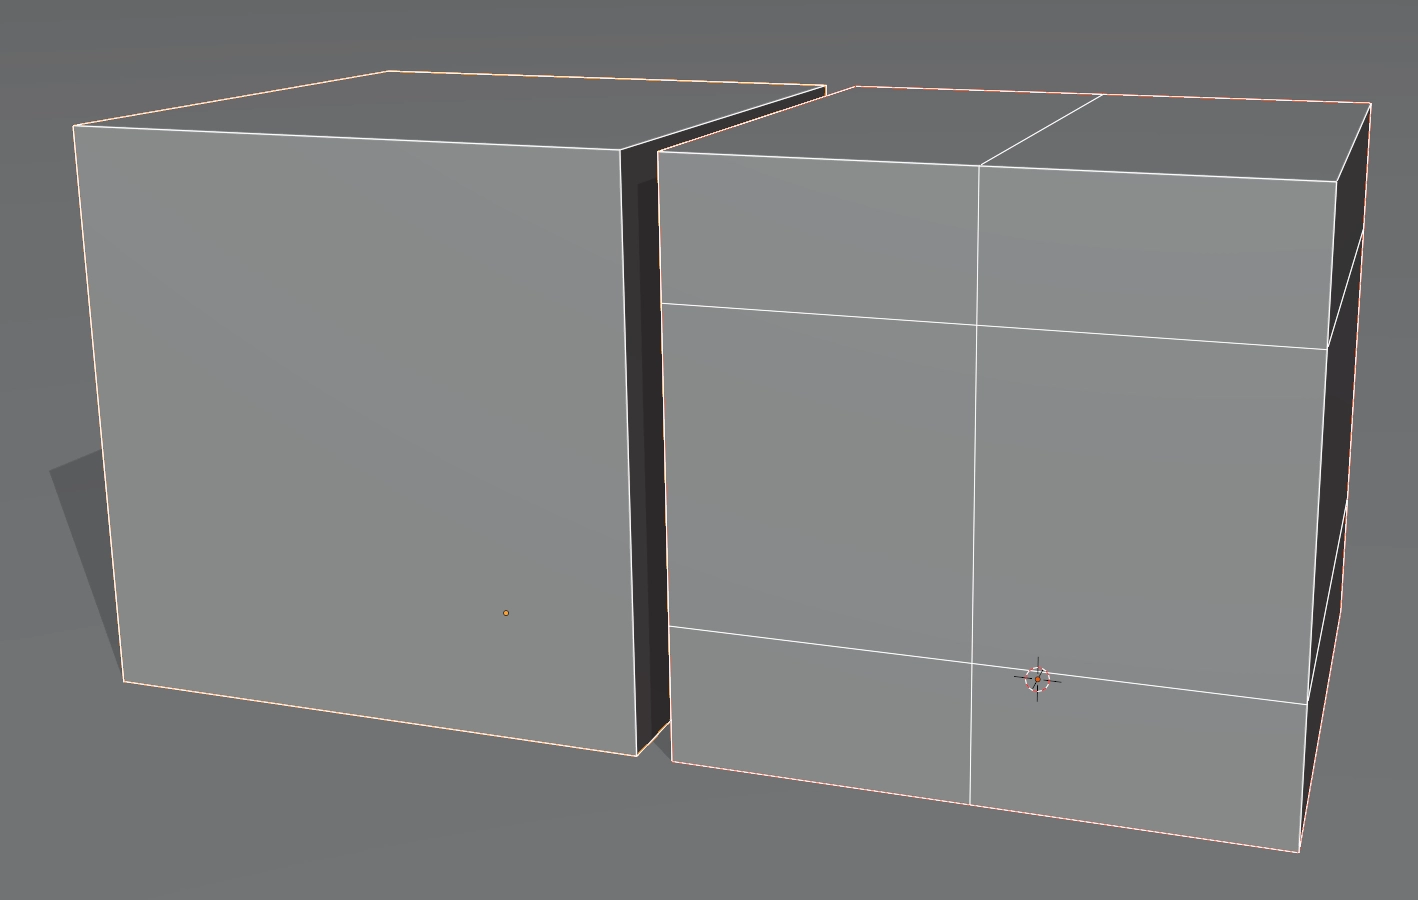
Add some loop cuts to create two vertices with at least four connected edges. In this example one vertical edge and two horizontal ones.
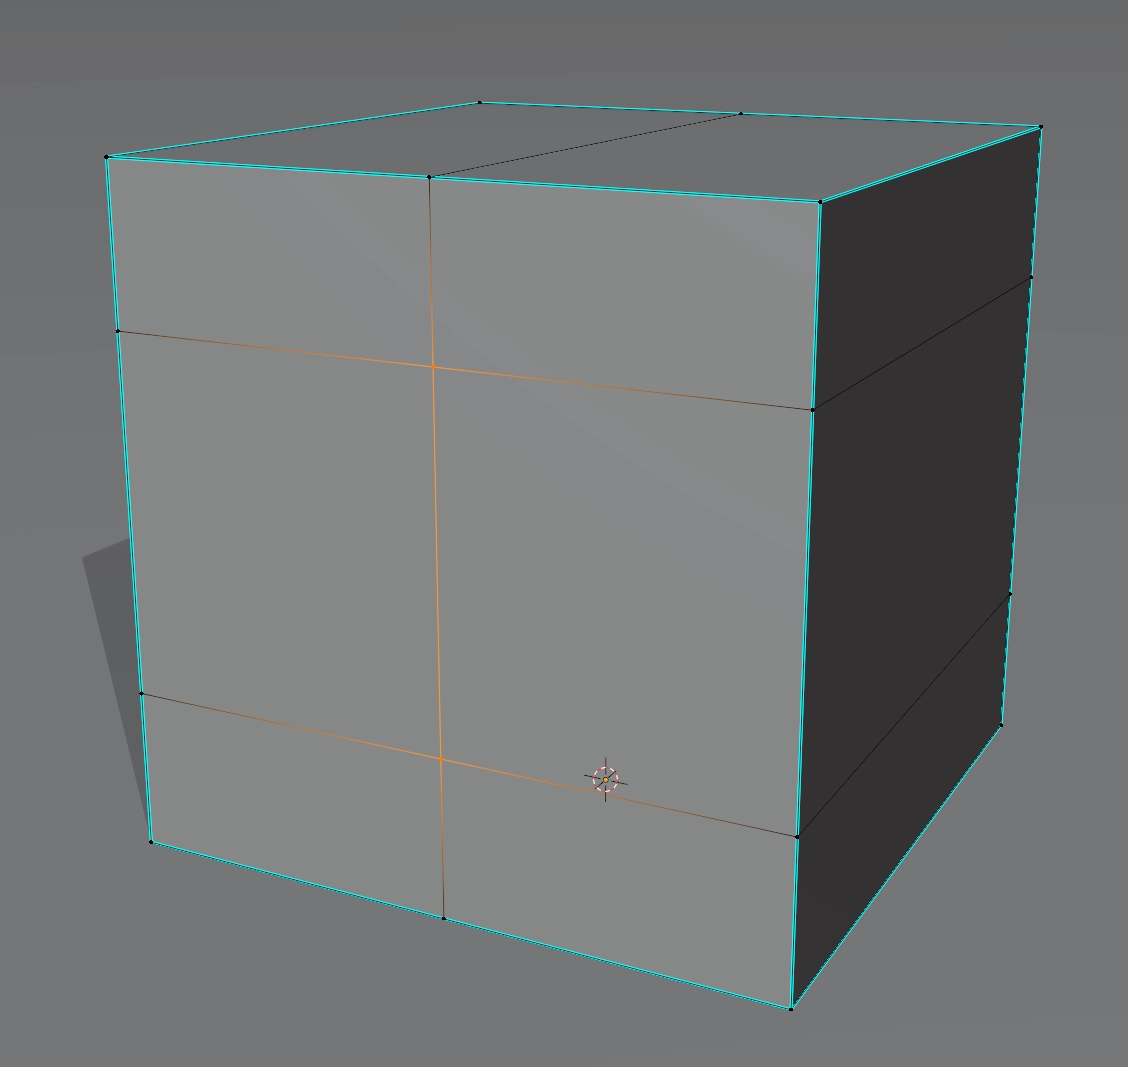
2. Select the Vertices
Select two vertices top and bottom in this example.
3. Bevel the Vertices
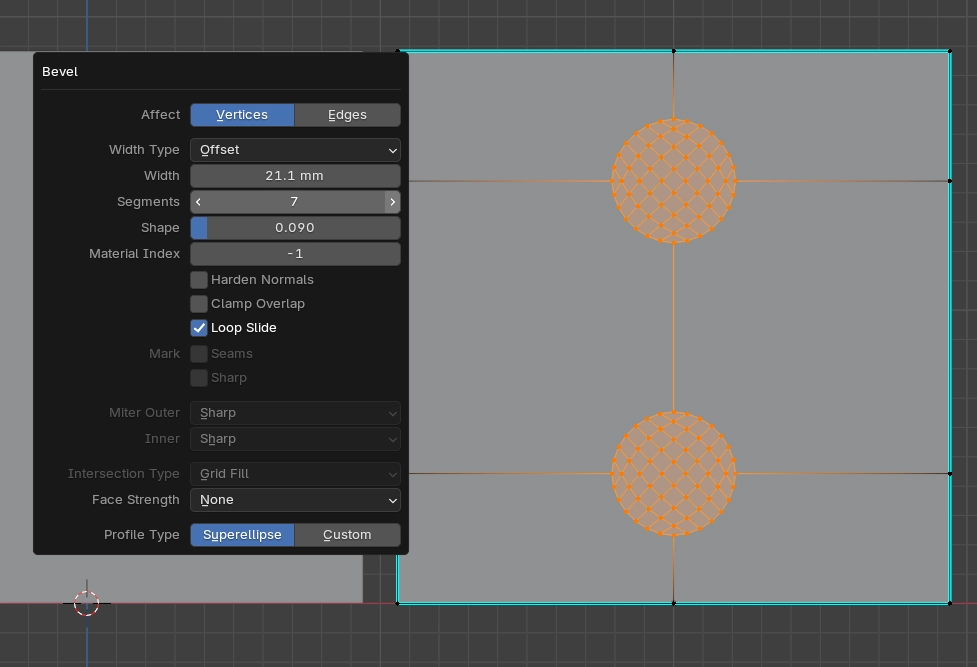
Bevel the two vertices using Ctrl+Shift+B (Blender default mapping). Adjust the segments with the mouse wheel or in the dialog after creating. Change the Bevel Shape to something around 0.09 to form a rough circle.
4. Refine the Circle
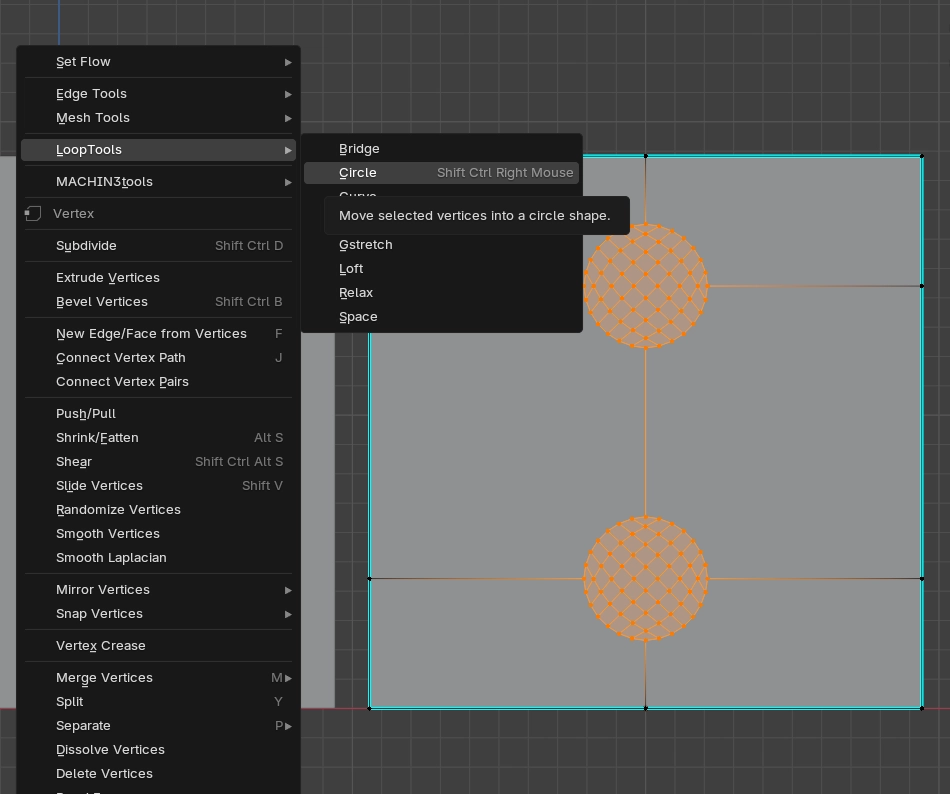
With the circles still selected, right click on the mesh and with Loop Tools installed, select Circle to form a proper circular shape.
5. Dissolve the Faces
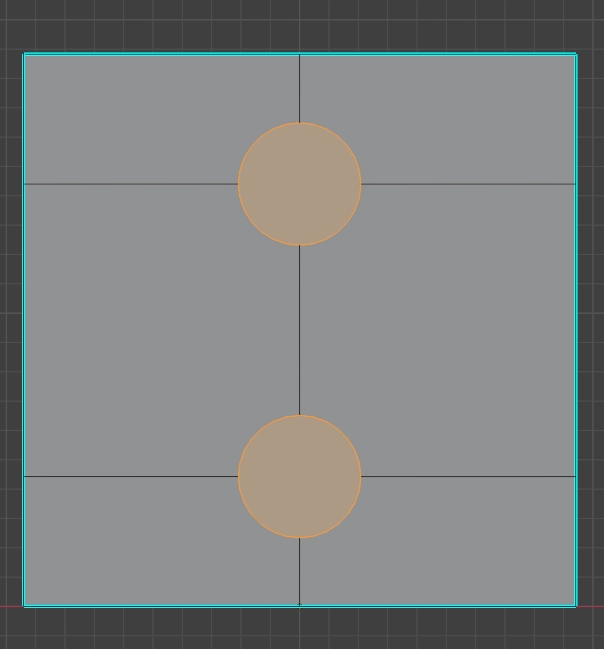
This step is optional, and can be done after Step three, with the Face press X then select Dissolve Faces, Ctrl X is my Shortcut. This creates an N-Gon so it is up to you. I do it as the geometry is cleaner and easier to work with, do this and then rerun Loop Tools - Circle if you have problems in Step Four.
6. Cut the Side Edges
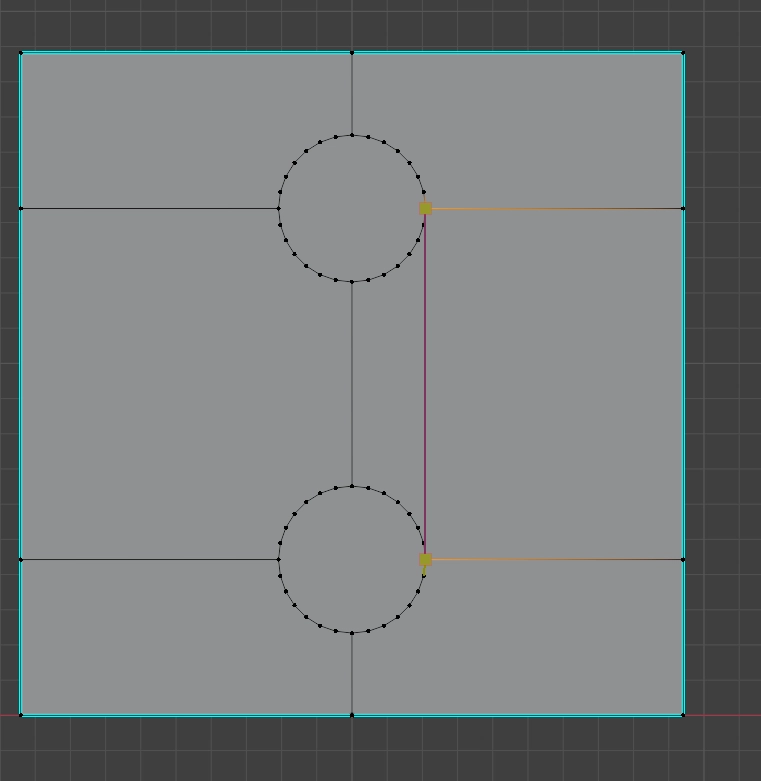
Using the Knife Tool, K in default mapping, connect the two extreme vertices, left and right, to form the lozenge shape, do one side then right click and do the other, space to confirm and exit the tool.
7. Dissolve Faces
You now have the basic rounded lozenge shape, you can now select the polygons in the shape and dissolve the faces once more.
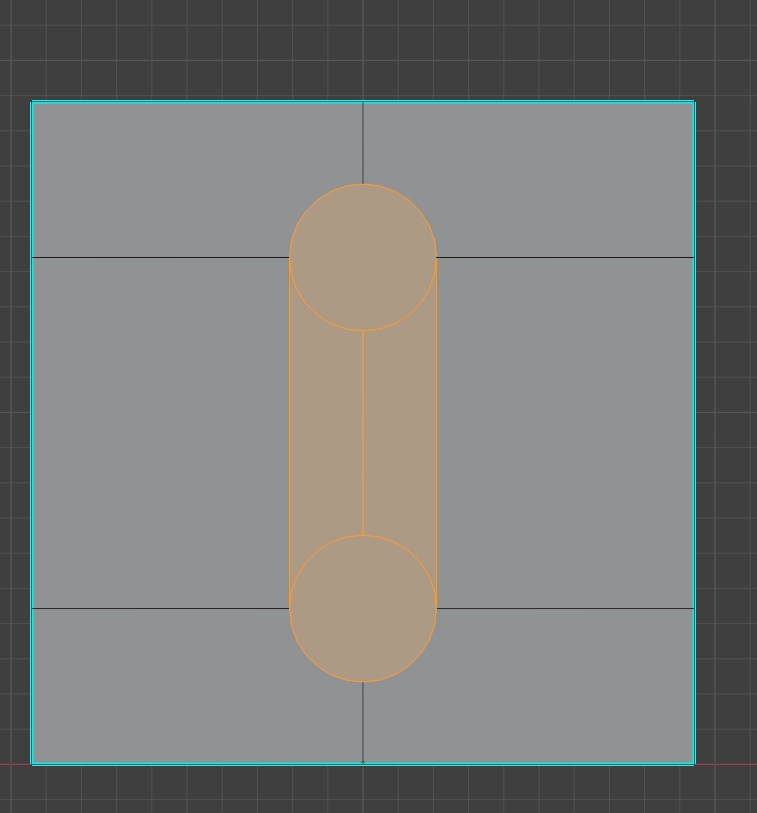
8. Faces after Dissolving
The faces are dissolved to form a lozenge shaped N-Gon for further manipulation.
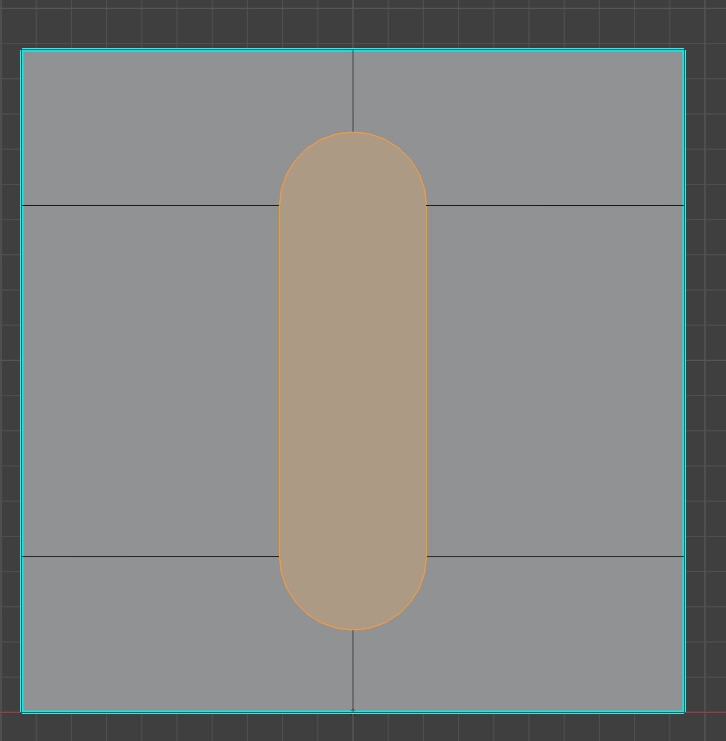
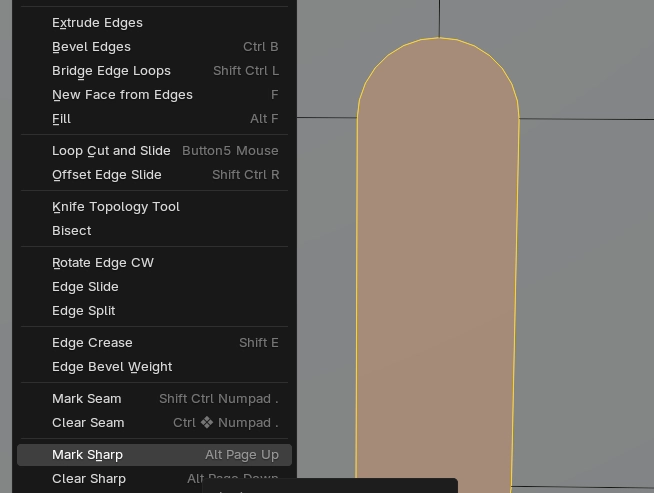
9. Mark Border Edges
This step is optional but recommended as it helps with clean Normals. With the shape polygons selected right click and choose Mark Sharp from the menu.
10. Inset Edges to Bevel
Next we will inset the faces first to form a Bevel. With the faces selected click on the Face Menu and choose Inset Face, shortcut I. Drag the mouse to change the offset from the edge and use Ctrl Drag to adjust the depth. Don’t be too accurate as you can adjust the settings after in the dialog F9.
Set the Thickness and Depth to the same value to get a forty five degree angle, negative for inset. As show in the image.
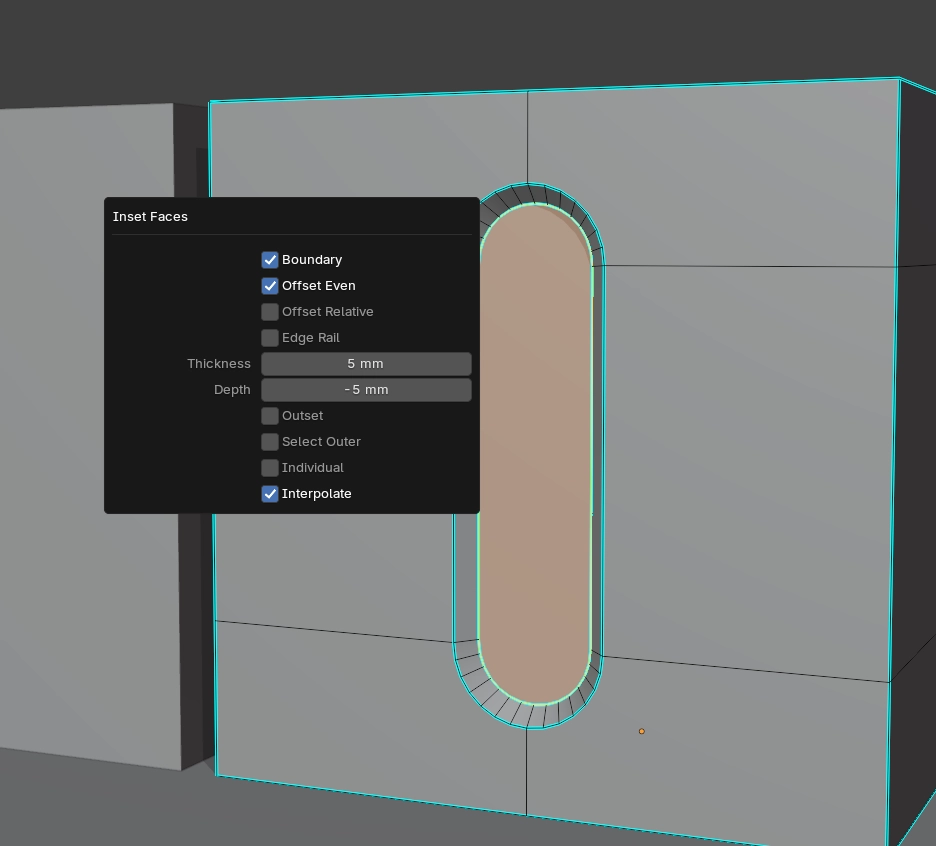
11. Inset the shape into the Mesh
Repeat the last step holding the Ctrl key to inset into the mesh, as shown in the image.
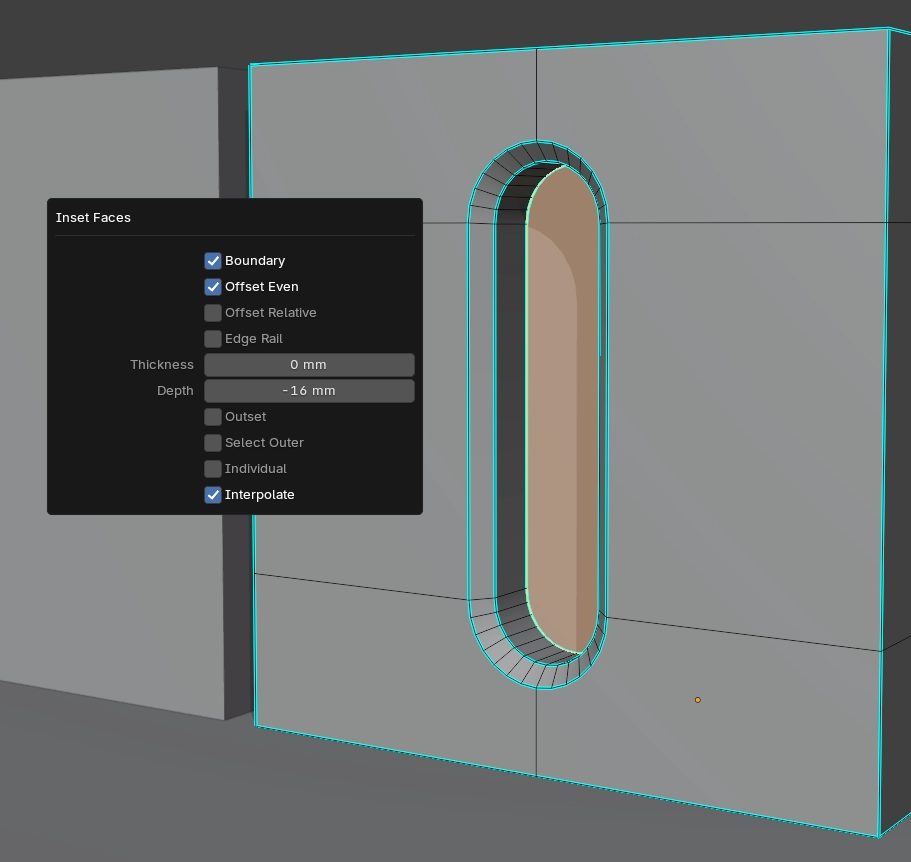
Finally to Refresh
Circles to Lozenge
Here are the first stages of marking the lozenge shape from two circles:
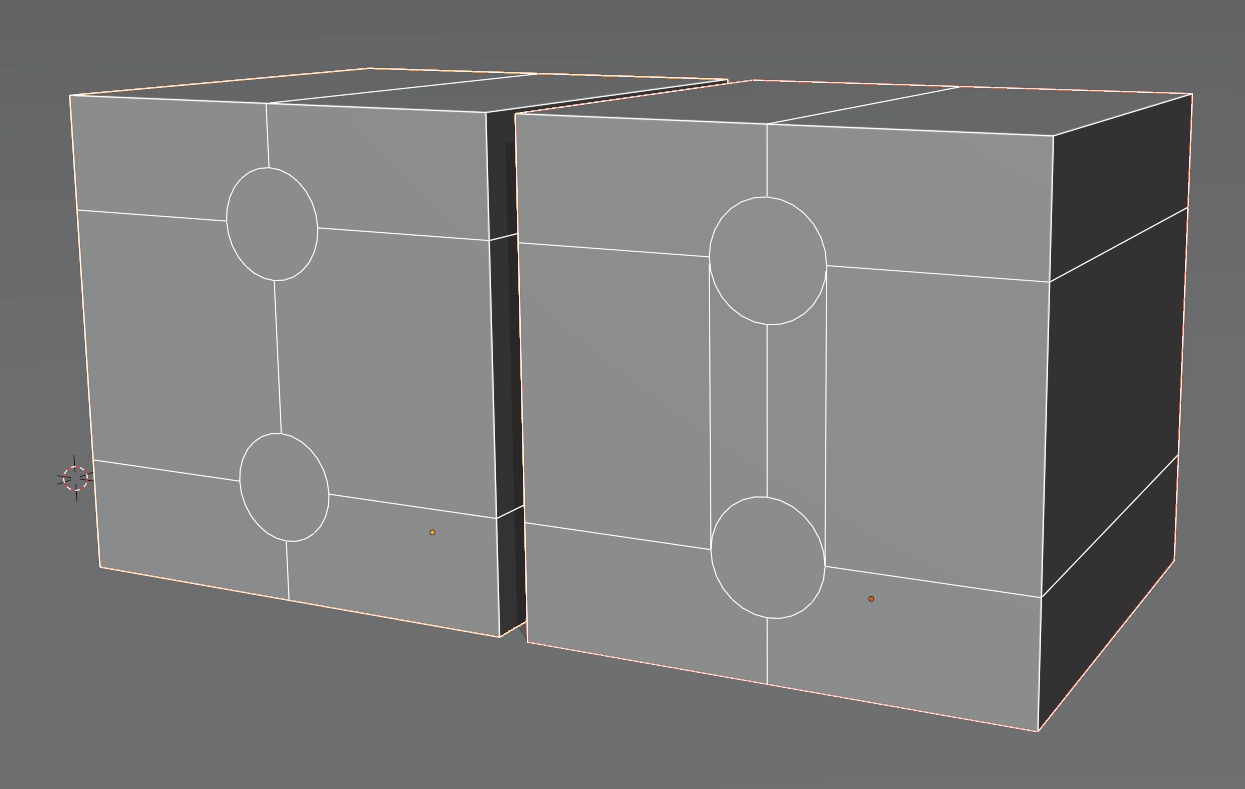
Inset the Lozenge
And here is the final shape inset into the Mesh:

I can be reached on Mastodon: Mark B Tomlinson. You can also subscribe to this Blog via its RSS link
